English
 Español
(1) Treatment of the base wall: the surface of the base wall should be free from oil, release agent, floating dust and other pollutants. The unevenness of the wall can be polished with an angle grinder. If the base wall is too dry, it should be properly wetted with water.
(2) Wall spring line: Before construction, first read the drawings, confirm the specific parts of the expansion joints, structural settlement joints, and earthquake-proof joints of the base structure wall, and mark them. In addition, the first floor water level line and the specific location of expansion joints should be popped up.

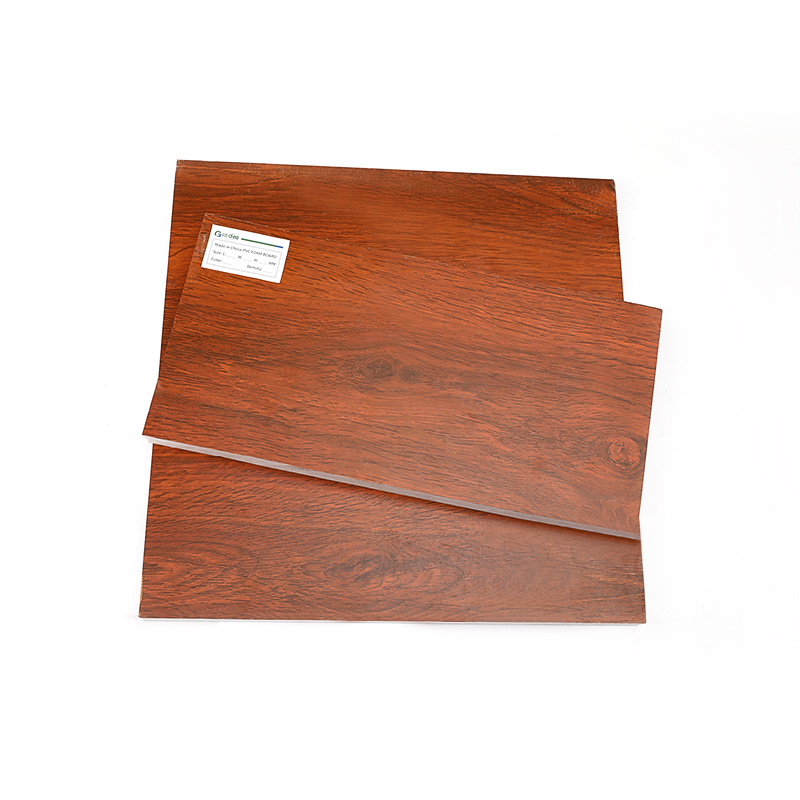
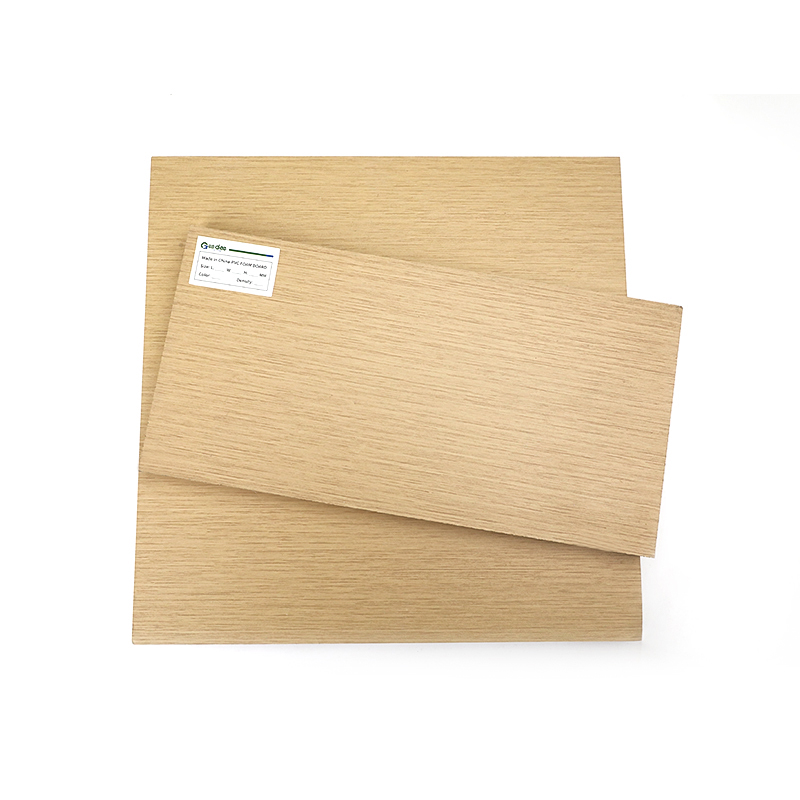
(3) Paste polystyrene board (extrusion board)
①Preparation of adhesive mortar: ②Adopt point-and-frame bonding method: First, use an iron trowel to spread the prepared adhesive mortar along the periphery of the extruded board (note: not the side), with a width of about 80mm and a thickness of about 10mm, leaving 50*50mm on the side Wide exhaust port, and then evenly arrange 6 bonding points in the middle of the board, each point has a diameter of 150mm, a paste thickness of 10mm, and a center distance of 200mm. When using non-standard boards, set a bonding point every 200mm in length and width. It is necessary to ensure that the bonding area between the extruded board and the base layer is not less than 40%.
③ After the polystyrene board (extruded board) has been applied with adhesive mortar, it should be flatly attached to the base wall and gently slid in place, and the flatness and verticality should be checked with a ruler at any time. When pasting the extruded board, the boards should be squeezed tightly, and the extruded adhesive mortar should be cleaned in time after each board is pasted.
After the extruded board is pasted firmly, if any uneven joints are found, immediately polish it with a polishing trowel, and clean the board debris with a brush after smoothing. The extruded board should be laid horizontally from bottom to top along the horizontal direction, and the upper and lower boards should be staggered and no joints should be allowed. Corner junctions should be adjacent to each other.
④Installation of anchors: Drill holes on the pasted board with a percussion drill, and the holes penetrate more than 25mm into the base of the wall
⑤Installing the grid strips: according to the design of the building elevation and the requirements of the owner, pop up the positions of the grid lines and drip grooves on the insulation layer of the extruded board, and then use a multi-functional wallpaper knife to cut out the grooves along the grid lines that have been played. Groove, the size of the groove should be 10mm wider and 6mm deeper than the grid required by the design. Fill the groove with anti-cracking mortar and paste alkali-resistant glass fiber mesh cloth, then insert plastic grid strips and drip grooves into the groove, bond firmly with the anti-cracking mortar, smooth the stubble with anti-cracking mortar, and Clean up the impurities in the groove in time after the final setting of the cracked mortar. For the specific construction method, see the attached diagram of the node.
⑥Wipe the bottom polymer mortar on the surface of the board 1-2mm, and smooth it with a trowel. Stretch the large mesh cloth horizontally or vertically, and smooth it with a trowel so that it is close to the underlying polymer mortar. When the grid cloth is lapped, pay attention to the lap width not less than 50mm. If there are no expansion joints at the corners of doors and windows, corners of panels, etc., where there is no expansion joint, add a layer of 400*200 mesh cloth along the 45-degree direction, and a layer of 400mm wide mesh cloth at the outside corner, which is located on the standard mesh. Below the gingham. Before the underlying polymer mortar condenses, plaster the surface layer of polymer mortar with a thickness of 1-2mm, cover the glass fiber mesh cloth, and the plaster layer reaches 3-5mm. The first layer needs to be covered with a layer of mesh cloth, and another layer of plastering mortar to improve the impact strength, and the thickness of the plastering on the reinforced part should be 5-7mm.
⑦The mesh cloth needs to be turned over in the following parts: door and window openings, corners, balconies, deformation joints and other parts that need to stop the system. The method is as follows: apply adhesive on the extruded board, press 100mm of one end of glass fiber mesh cloth with a width of 250mm into the adhesive, and then paste the board coated with adhesive mortar on the wall, and smear the bottom polymer on the back and sides. Material mortar, turn the fiberglass mesh that has been thrown out in advance along the board and paste it on the extruded board.